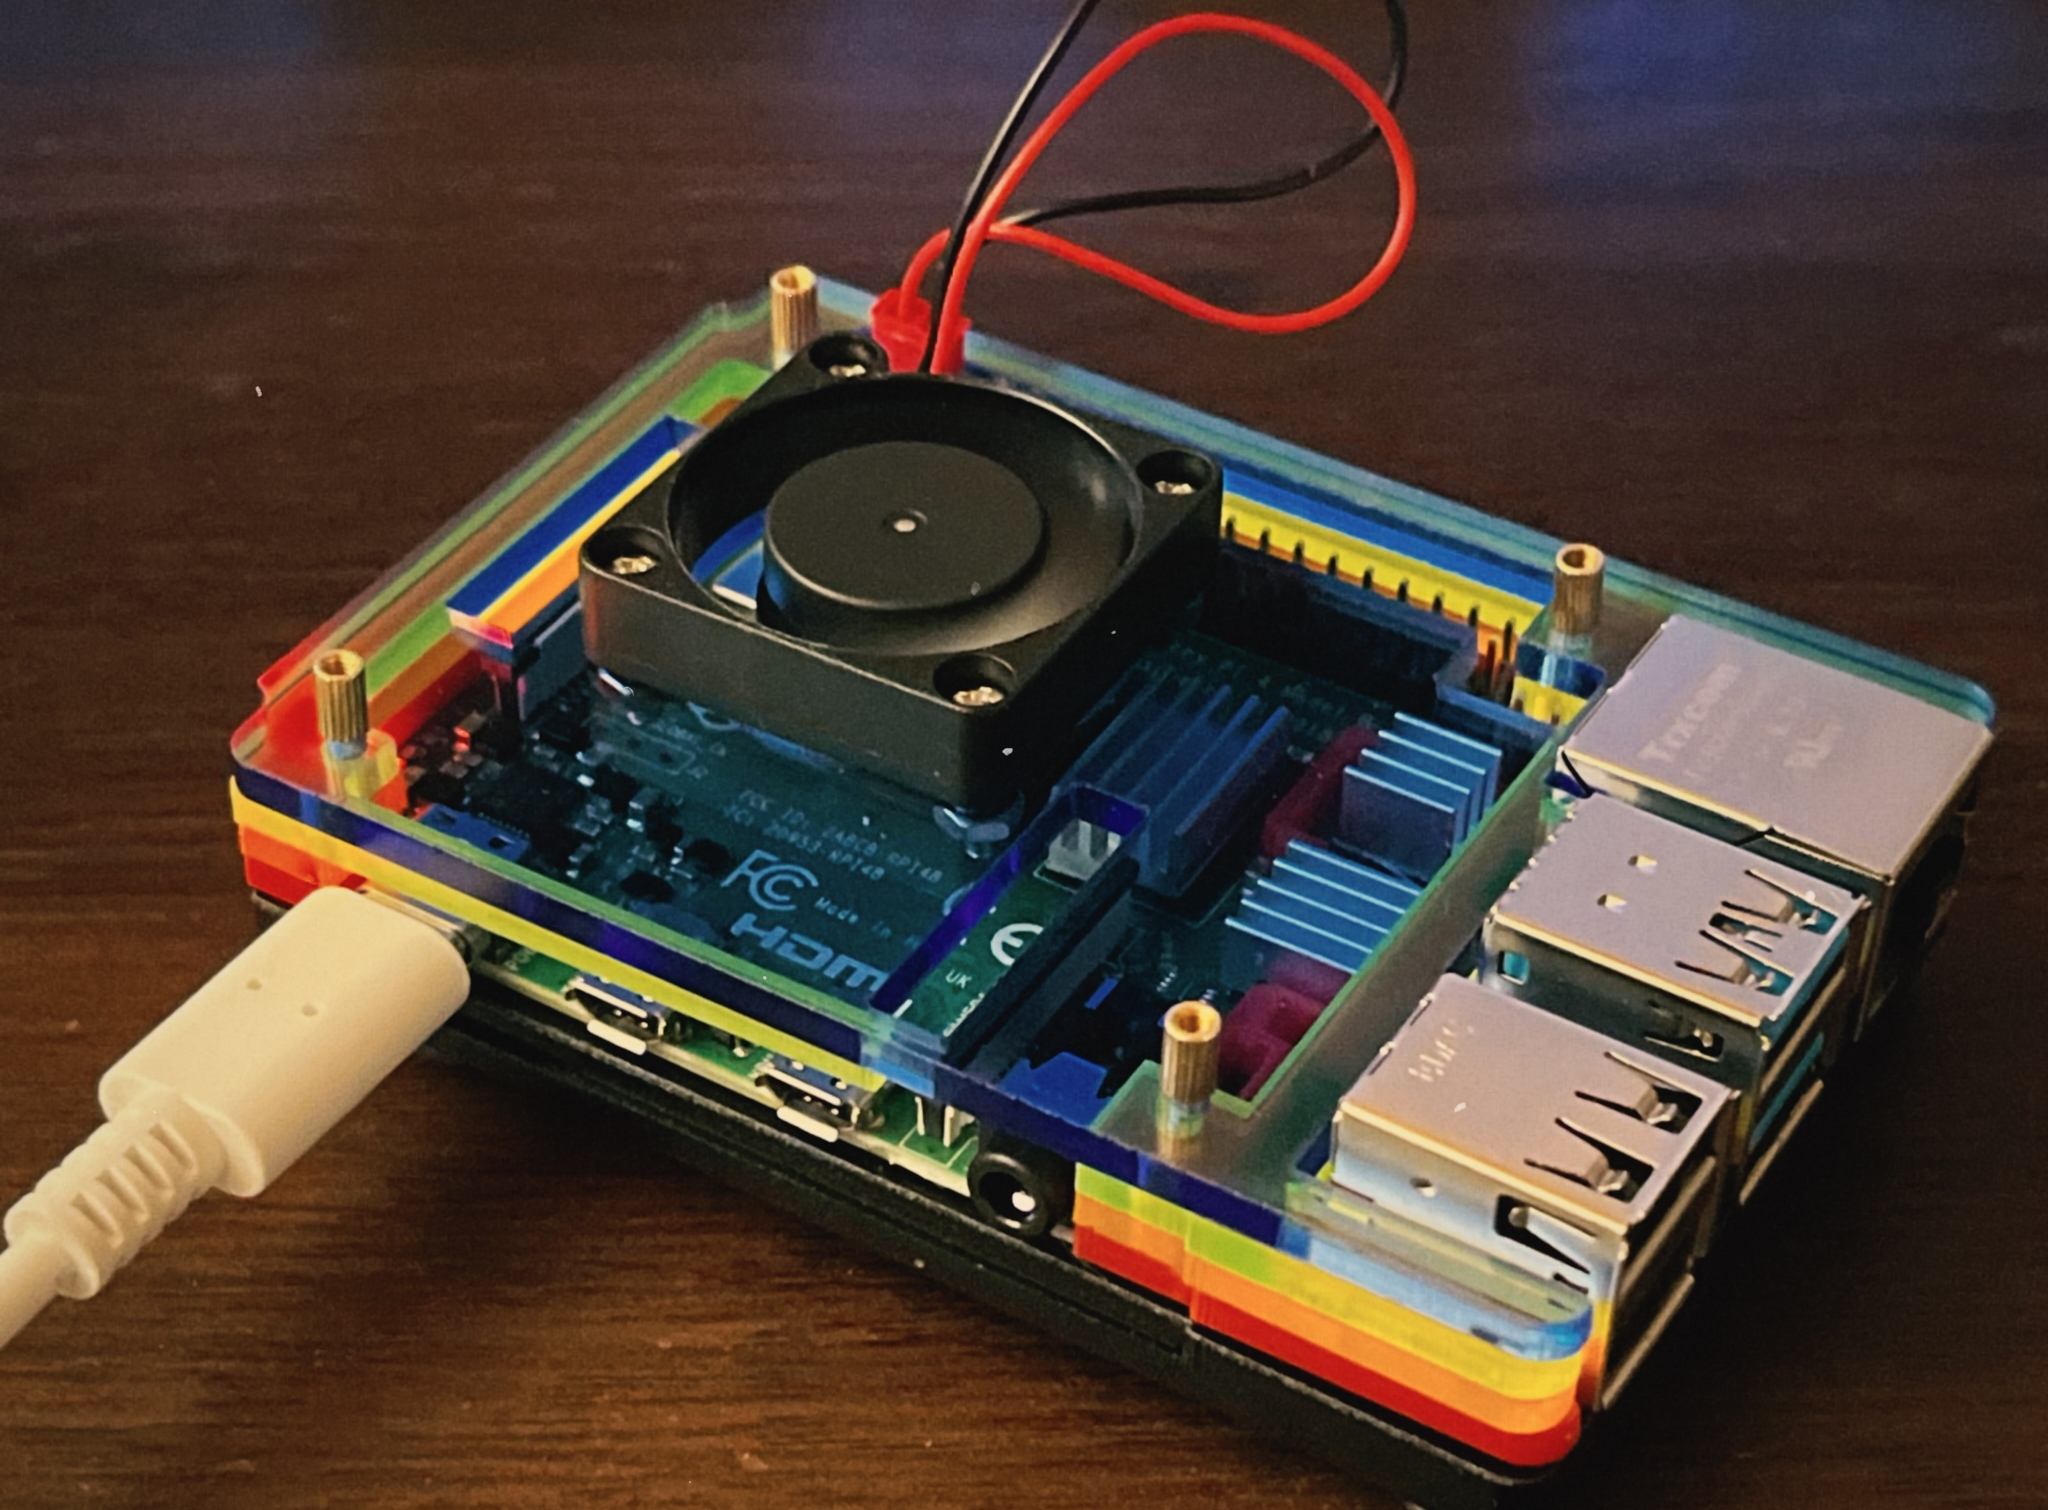
Getting Started with Raspberry Pi 4B: Minimal Setup Guide

Introduction
This guide gets a Raspberry Pi 4B ready for headless use fast: flash Raspberry Pi OS Lite, enable SSH, connect Wi‑Fi, secure the device, optimize the terminal, and validate hosting with a tiny Node.js service.
Hardware Requirements
- a Raspberry Pi 4B (4GB+ RAM recommended)
- microSD card (32GB+)
- USB-C power supply (5V/3A)
- Ethernet cable or WiFi
- Optional HDMI/keyboard for first boot
Step 1: Flashing the OS
Download and Install Raspberry Pi Imager
Raspberry Pi Imager is the official tool to flash Raspberry Pi OS onto your SD card. It’s available for Windows, macOS, and Linux.
Flash Raspberry Pi OS Lite
- Insert SD card into your computer
- Open Imager and select:
- OS: Raspberry Pi OS (other) → Raspberry Pi OS Lite (32-bit)
- Storage: Your SD card
- Click the gear icon ⚙️ and set:
- Enable SSH with password authentication
- Configure WiFi credentials
- Click “Write” and wait for completion.
Official Documentation: Installing the Operating System
Step 2: First Boot and Connect
- Insert the SD card and power on the Pi.
- Find the IP address
- Connect via SSH:
ssh pi@192.168.1.xx

# Replace with your Pi's IP address
# Default password: raspberry
On first login:
# Update system
sudo apt update && sudo apt full-upgrade -y
sudo reboot
Step 3: Terminal Optimization (Console Font)
For better readability, especially on high-res monitors, increase the console font size.
# List available fonts
ls /usr/share/consolefonts/

# Edit console setup
sudo nano /etc/default/console-setup
Modify the following lines:
# Example changes in /etc/default/console-setup
FONTFACE="Uni2-Terminus32x16"
FONTSIZE="16x32"
# Apply changes
sudo setupconStep 4: Nice‑to‑Have Tools
Install Neofetch
Absolutely unnecessary but fun for system info at login.
sudo apt install -y neofetch
neofetch
Set a minimal neofetch config:
# Edit config file
nano ~/.config/neofetch/config.conf
# ~/.config/neofetch/config.conf
print_info() {
info title
info underline
info "OS" distro
info "Host" model
info "Kernel" kernel
info "Terminal" term
info "CPU" cpu
info "GPU" gpu
info "Memory" memory
}
ascii_distro="raspbian_small"Auto-run neofetch on terminal start:
echo "echo && neofetch" >> ~/.bashrcStep 5: Validate Hosting Capabilities with a Test App
Install runtimes like Python or Node.js, then deploy a simple app to ensure the Pi can serve content.
# Install NodeJS runtimes
sudo apt install -y nodejs npm

# Python (optional)
sudo apt install -y python3 python3-pip
Create a sample Node app:
mkdir -p ~/projects/test-app && cd ~/projects/test-app
nano server.js
Node.js server code:
// ~/projects/test-app/server.js
const http = require('http');
const port = process.env.PORT || 8000;

const server = http.createServer((req, res) => {
   res.writeHead(200, {'Content-Type': 'text/plain'});
  res.end(` Server OK | ${process.platform}\n`);
});

server.listen(port, () => {
   console.log(`Server running at http://localhost:${port}/`);
});
Run manually to test:
node server.js & curl http://localhost:8000
# Expected output: " Server OK | linux"
kill %1  # Stop the server
Keep it running with PM2 (simple) or systemd (robust):
PM2 method:
sudo npm i -g pm2
pm2 start server.js --name test-app
pm2 save
pm2 startup  # Auto-start on boot
The systemd method is more complex but recommended for production. I prefer PM2 for simplicity.
Conclusion
That’s it! Your Raspberry Pi 4B is now set up ready for headless projects. You can deploy web servers, IoT applications, or anything else you can imagine. Enjoy tinkering!